Makeup Brushes Decoded: What to Use and Why
Decode every makeup brush—from foundation to eyeshadow. Learn what each shape does, how to use it, and why the right tool transforms your look.
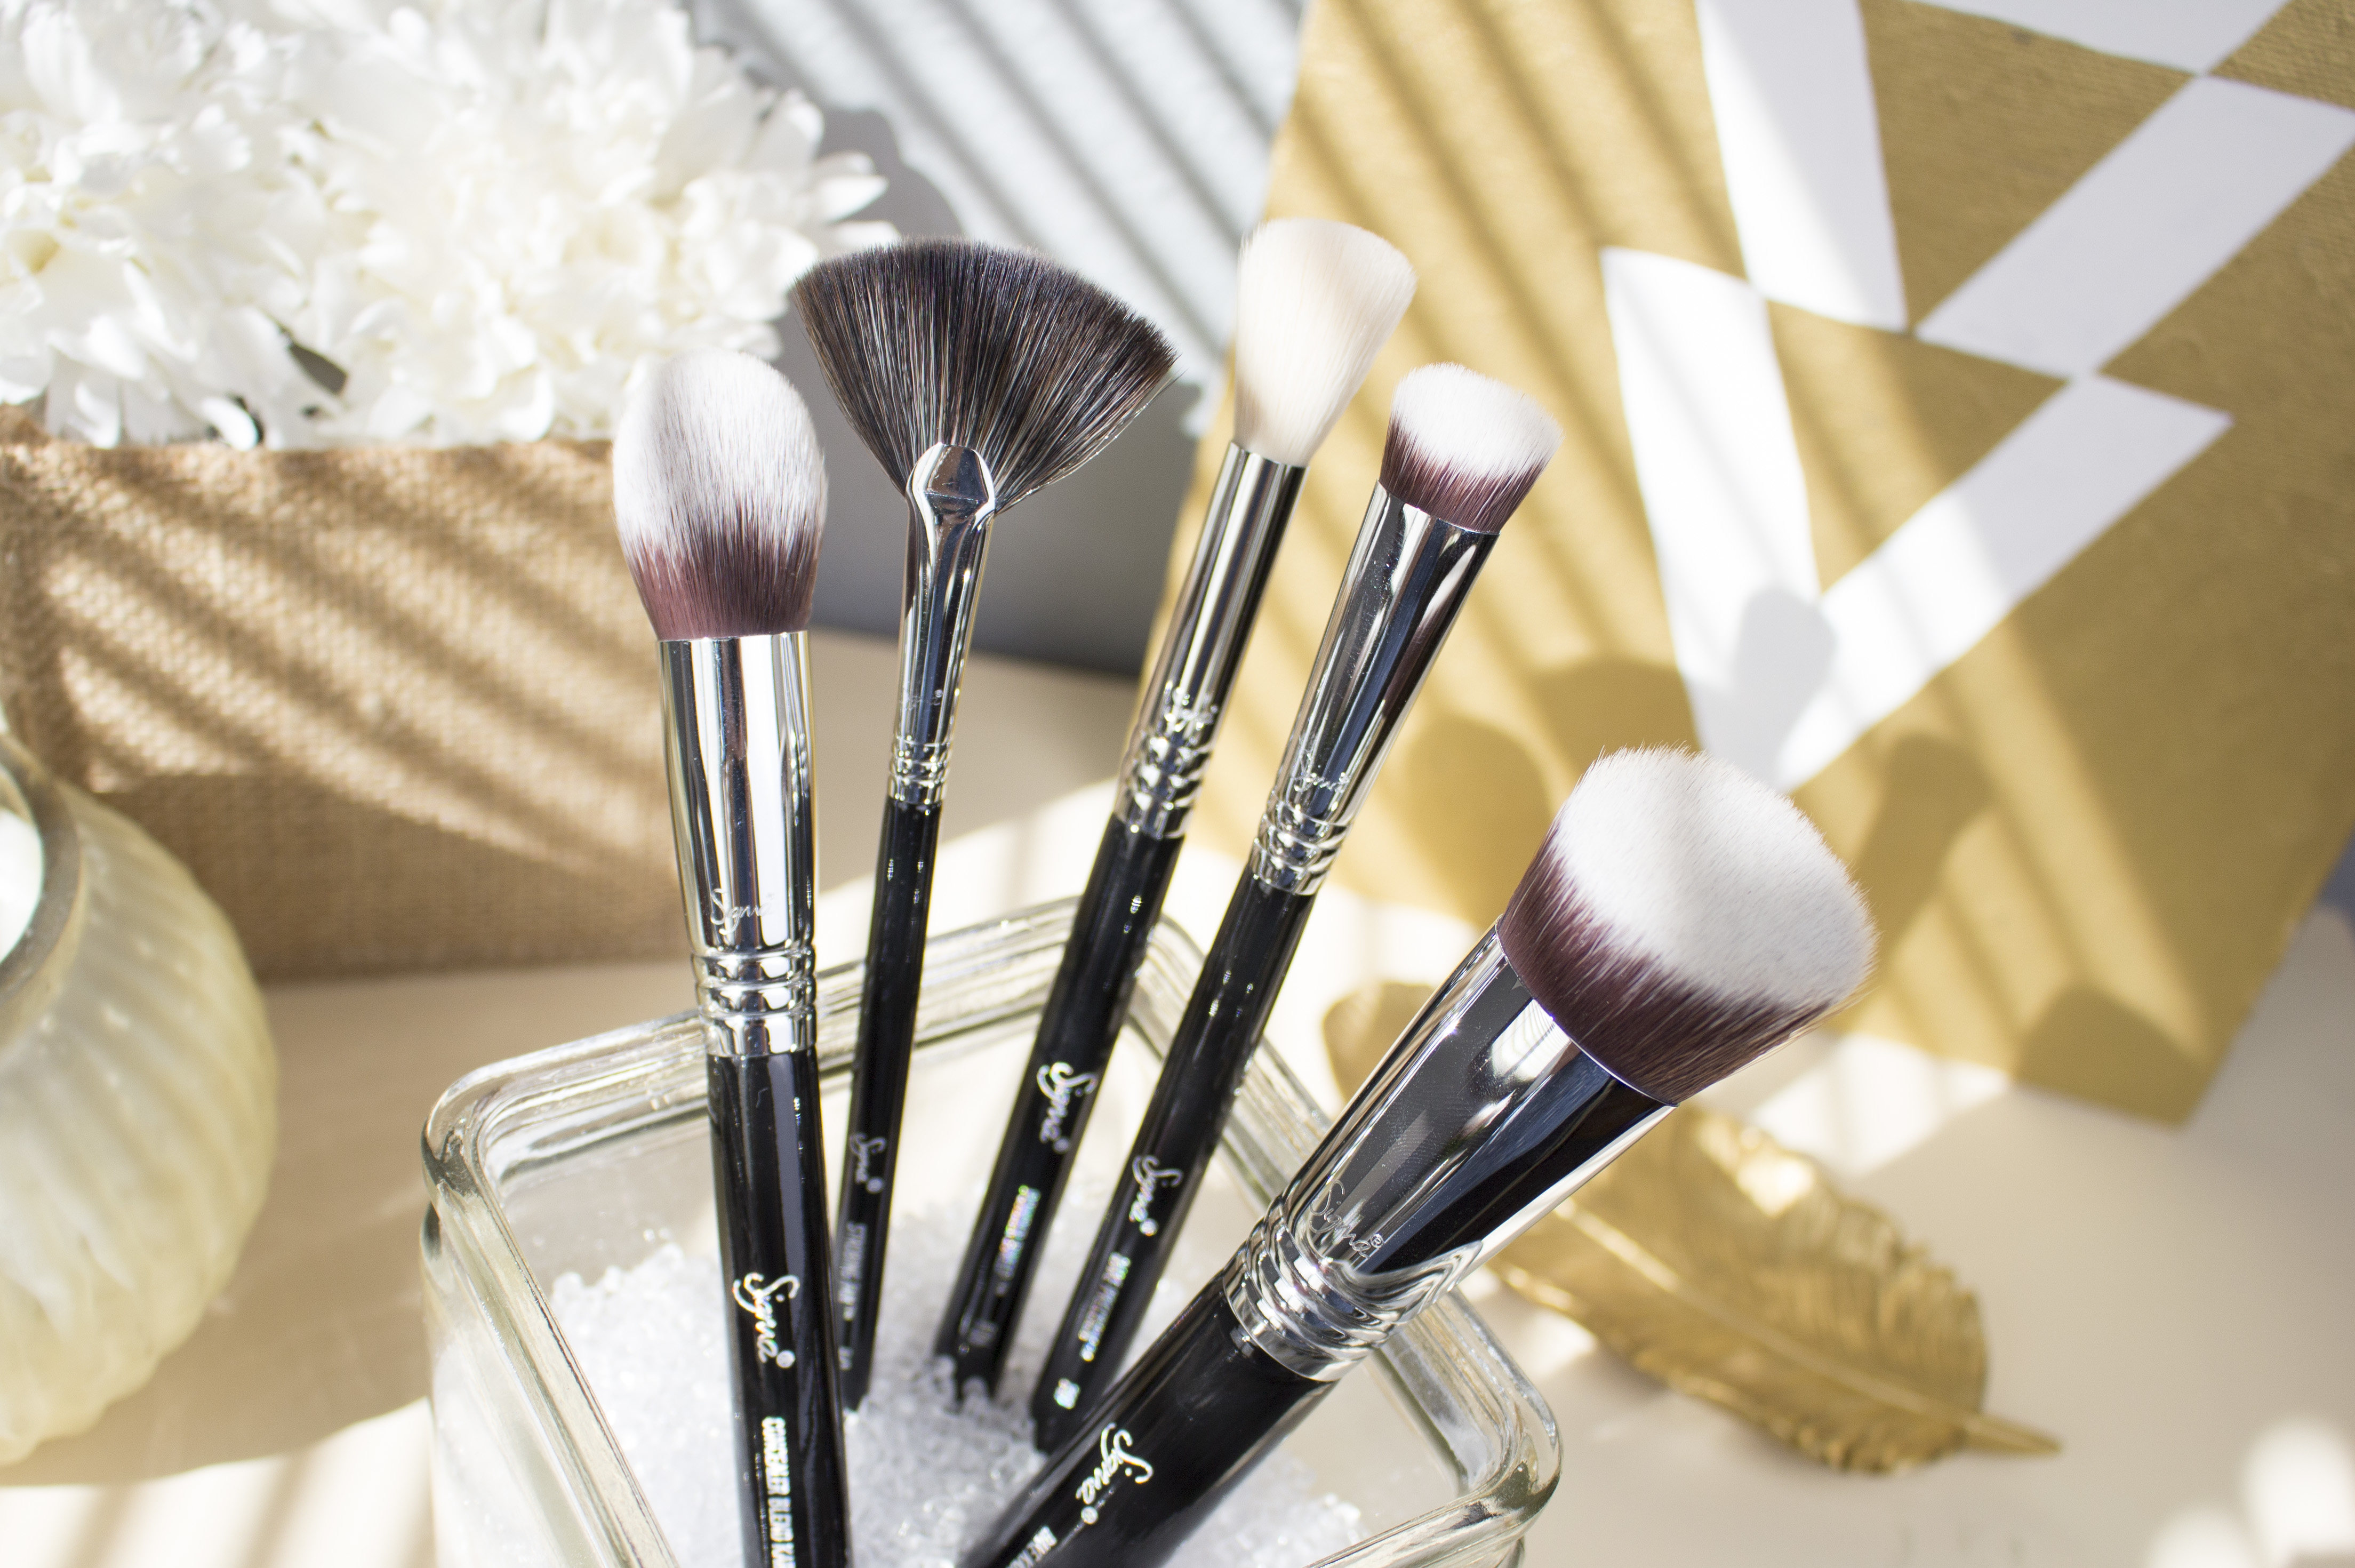
Brush Anatomy & Fibers: A great brush starts with its parts: handle, ferrule, and bristles. The ferrule crimps bristles in place and affects balance; a well-balanced handle reduces hand fatigue and improves control. Shape and density decide pickup and payoff: dense, flat-top, rounded dome, and tapered heads guide how color moves. Fiber choice matters too. Synthetic filaments are smooth, resilient, and superb with liquids and creams because they do not absorb as much product, while many natural hairs have micro-texture that grips loose powder for seamless veils. Duo-fiber blends create a whisper-light touch that layers without heaviness. A compact kabuki offers quick diffusion on larger areas, whereas a petite tapered head nestles into curves around the nose and eyes. Shorter bristles give precision; longer bristles give flow and soft edges. Look for soft tips and good spring so the brush returns to shape. The right construction minimizes streaks and fallout, boosts precision, and supports a polished beauty routine with less product waste and more reliable results.
Base Perfection: The path to an even canvas begins with tools that match formula and finish. For fluid foundation, a flat paddle brush paints on sheer layers, while a dense buffing or flat-top kabuki brush pushes pigment into skin for medium to full coverage. A stipple brush, with duo-fiber tips, offers an airy, skin-like blur that preserves natural texture. Choose synthetic fibers for creams and liquids; they glide without soaking up excess. For concealer, a small flat brush taps coverage precisely under eyes and around blemishes, and a mini fluffy brush diffuses edges so corrections disappear. To set without heaviness, a large fluffy powder brush sweeps translucent powder broadly, and a small tapered setting brush presses product into targeted areas like the T-zone. Technique matters: stippling prevents streaks, buffing melts edges, and a gentle press-and-roll locks makeup without disturbing layers. Align brush size to face zone, build slowly, and you will achieve a comfortable, long-wearing base.
Cheeks, Contour, and Glow: Cheek color thrives on brush shape. A rounded dome blush brush delivers a natural flush by distributing pigment evenly, while an angled blush brush hugs the cheekbone for lifted definition. For cream blush, a stipple or small dense brush taps on color without lifting your base. Bronzer wants air and space; use a large fluffy brush to create a soft halo on high points where sun would naturally hit. Contour calls for more precision with a small angled, flat contour, or tapered brush that nestles under cheekbones and along the jaw without harsh lines. For radiance, a fan brush gives a whisper of highlighter across the tops of cheeks and bridge of nose, while a small tapered highlighter brush builds glow in focused spots. Think undertone, pigment payoff, and placement: swirl to load, tap to remove excess, then sweep or buff to blend. Layer gradually, soften edges with a clean brush, and aim for dimension that reads as skin, not stripes.
Eyes & Brows Toolkit: Eye looks succeed with a few precise shapes. A flat shader packs color by pressing shadow onto the lid, while a fluffy blender or tapered crease brush disperses pigment through the socket for seamless transitions. A pencil brush targets the outer V and lower lash line, and a smudger softens liner into a lived-in haze. For liner itself, an angled brush pairs with gels and powders to sketch crisp wings, while a fine liner brush draws fluid, inky lines with micro-control. Textures respond to technique: shimmers like to be patted, mattes like to be swept and layered. Brows need a spoolie to groom hairs and blend product, plus an angled brow brush to sketch hairlike strokes with powder or pomade. A lash comb or clean spoolie separates mascara clumps. Work light to dark, keep pressure soft, and blend between steps to avoid patchiness. The right mix of tools turns complex eye makeup into a simple, repeatable sequence.
Care, Selection & Technique: Great brushes shine when cared for. Wash regularly with a gentle cleanser, rinse until clear, squeeze from ferrule to tip, reshape, and dry flat with bristles hanging off an edge to protect the glue. Avoid soaking the ferrule, which can loosen bristles. Store upright in a breathable holder and cap travel brushes to preserve shape. Replace tools that shed, splay, or feel scratchy. Build a smart kit: a buffing foundation, flat concealer, fluffy powder, blush, small tapered highlighter, shader, blender, and angled detail brush cover most beauty needs. Choose synthetic for versatility, add specialty shapes as your style evolves, and mix tools thoughtfully with a sponge or fingertips when desired. Practice pressure control on the back of your hand; what feels featherlight looks most seamless on skin. A color switch sponge helps reuse brushes between shades without full washing. Prioritize hygiene, intentional technique, and consistent maintenance, and your brushes will reward you with reliable, professional results.